CLEANING AND PRIMING
All Scyon Flooring to be fixed and secured as per manufacturers instructions.
All substrates are to be checked for soundness, cleaned, swept, vacuumed and wiped over before works can begin.
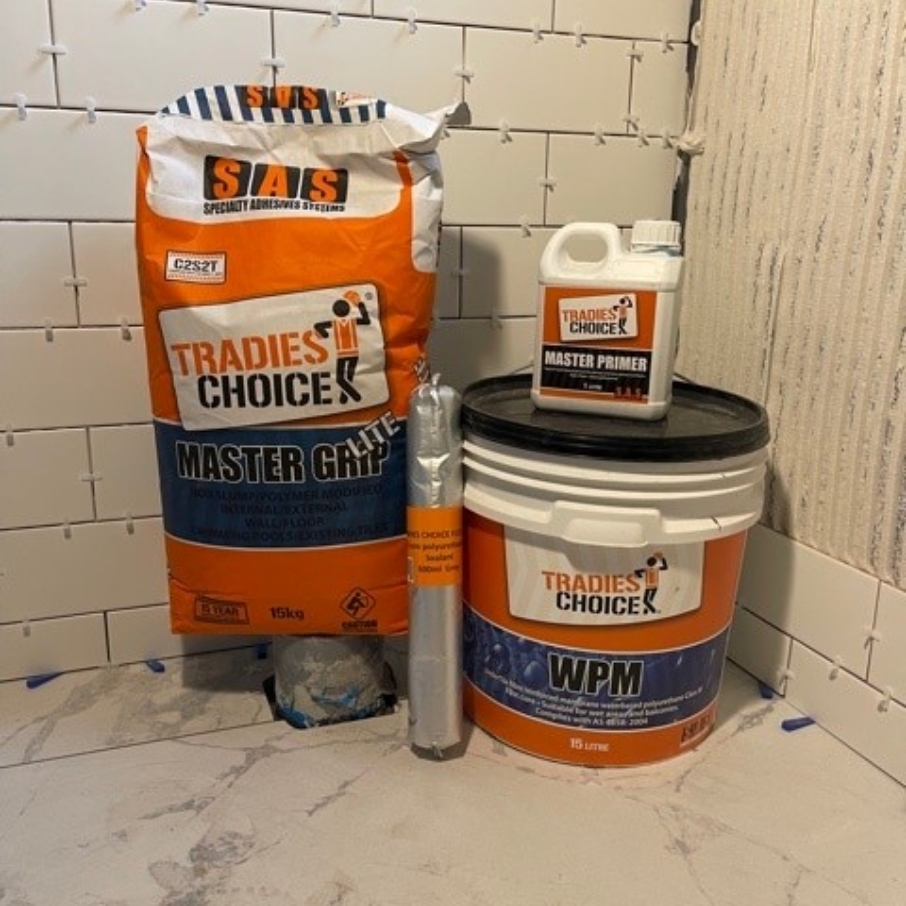
Once cleaned and prepped, SAS Tradies Choice Moisture Barrier can be applied as a primer over every part of the surface that will be tiled.
Once Tradies Choice Moisture Barrier has completely dried, Polyurethane sausage can be applied to all substrate intersectionsas bond breakers and tap/spout penetrations. When P/U has cured, waterproofing can commence.
*Please refer to SAS Tradies Choice WATERPROOFING spec sheets.
SCREEDS & LEVELLERS
Tradies Choice Fast Setting Screed can be installed after waterproofing.
If installed after waterproofing, we advise to let screed fully cure and waterproof over the top of the screed also. Primer mustbe applied before waterproofing on top of screed. Tradies Choice Master FS Additive can be added to screed to increase drying time.
Tradies Choice Master Leveller can be used for uneven surfaces where required.
Care should be taken to get correct falls on the screed to any wastes or edging as per Australian Standards. Unbonded screedswith min thickness of 40mm can also be placed on these membranes by first laying two plastic slip sheets over the membrane and then installing the topping screed. The use of expanded metal is recommended in screeds depending on screed thickness. For extra strength, Tradies Choice Master Additive can be added to screed.
Sand and Cement topping screeds can be placed directly on to the membrane as a bonded screed (utilizing a slurry and with theaddition of SAS Tradies Choice Master Additive to the screed and are typically from a minimum 15mm thickness to a maximum thickness of 50mm). The use of expanded metal is recommended in the screed depending on screed thickness. For extra strength, Tradies Choice Master Additive can be added to screed.
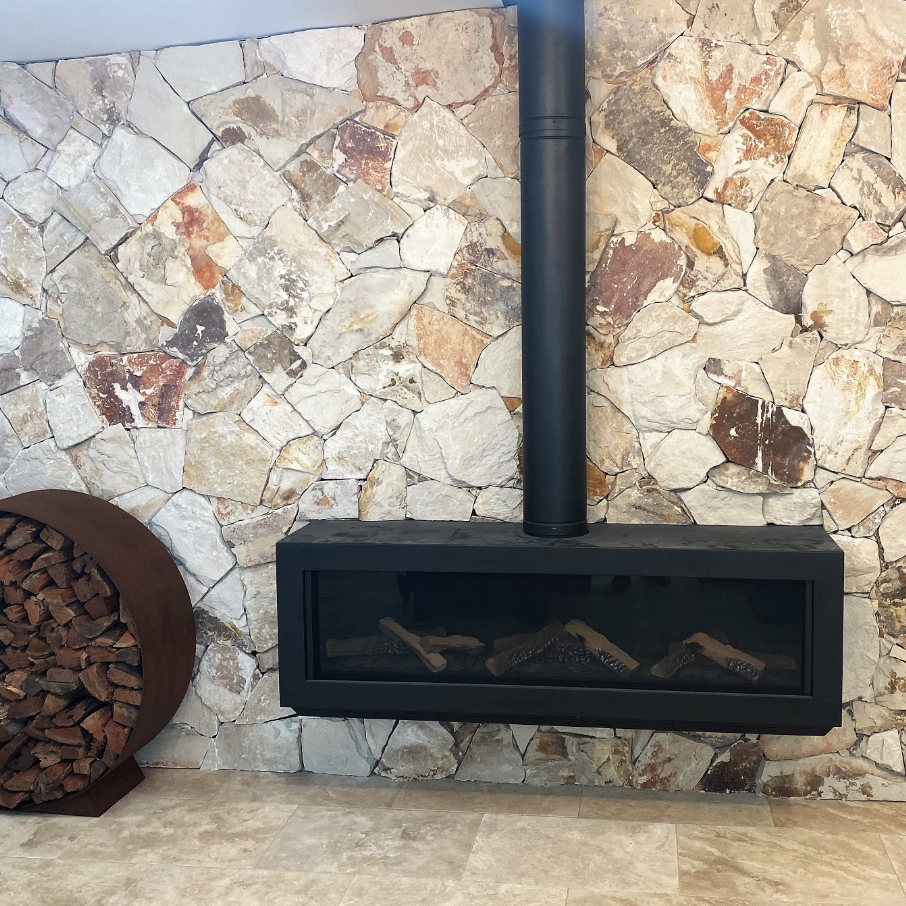
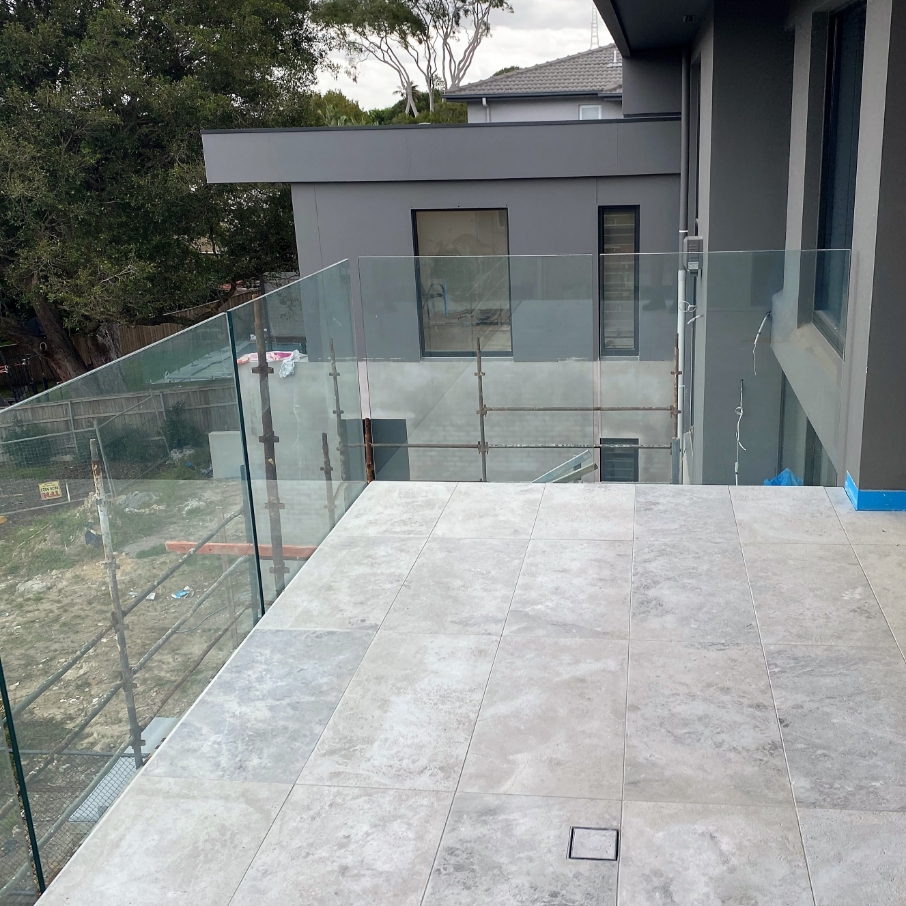
WALL AND FLOOR TILING
After all waterproofing membranes and screeds are fully cured, set out tiling. Floor tiles must be laid first and once dry, walltiling can commence.
TILE INSTALLATION
Tiles should be fixed in accordance with Australian Standard AS 3958.1-2007 Apply the adhesive using a notched trowel onto the substrate. For tiles up to 300 x 300 mm use a 10mm notch trowel, and for Tiles greater than 400 x 400 use a 12mm notch trowel on the substrate and butter the back of each tile. Apply only up to 1m2 at a time. Press the tiles firmly into the adhesive before it skins. Do not spot fix, remove all excess adhesive from the tiles before it sets. Tiles should be fixed in accordance with the Australian Standards AS3958.1-2007.
Ensure the back of each tile is clean free form dust and other contaminants.
Apply the adhesive onto the substrate but do not exceed more than 1m2 at a time.
When back buttering is required use the straight side of the trowel and apply a thin coating of adhesive onto the tile.
When laying the tiles make sure you move the tile forward and back 90 degrees across the direction of the beads of adhesive leaving no voids under the tile. It is important to lift a tile every now and then to check that sufficient coverage is achieved 90-100%.
All adhesive residue must be removed from the tile and joint while the adhesive is still wet.
For all other applications not mentioned please contact the SAS Technical team.
Note: Protect tiling from other trades and weather. Do not allow traffic until all the tiling and grouting is completed For information not listed please contact SAS for further information.
PRECAUTIONS
All Tile installations must comply with Australian Standards AS-3958.
Expansion/movement joints in the substrates must be continued through tile finish and screeds.
DO NOT use premixed adhesives to bond tiles over membranes as prolonged drying will occur.
Always protect tiling work in progress from bad weather, inundation of water and from other trades until such time all works arecompleted.
Do not use SAS Tradies Choice Waterproofing membranes, Adhesives or our LITOKOL Grouts below 50Cor above 350C
GROUTING
When all adhesive is dry/cured and all spacers have been removed from all joints. Clean up ready for grouting can begin.
Be sure to scrape out any excess adhesive that was missed during tiling so joints are empty. Vacuum all joints and prepare the grout. We recommend our LITOKOL Cementitious or Epoxy range of Grouts.
CAULKING/SILICON WORK
Once grouts have completely cured, caulking/silicon of all internal and external junctions can commence.
Always leave the finished job clean, tidy and protected from other trades.